Tuesday, February 28, 2012

Beet Goat Cheese Ravioli

Pin It

After many nights of Chinese food, it's time for a change. VB mentioned some beets ravioli that he had at a restaurant. I thought, why not?

*Warning: This takes a lot of work. Just saying. But it sure looks pretty. And tastes good!

For this beet goat cheese ravioli recipe, you'll need:
  • 5 small (or 3 medium) beets
  • 1/2 cup goat cheese
  • 3/4 cup ricotta cheese
  • juice from 1/2 lemon (about 1 tablespoon)
  • zest from 1 lemon (about 1 teaspoon)
  • 1 egg, beaten
  • 4 tablespoons butter or butter substitute
  • salt to taste 
  • freshly grated parmigiano reggiano
  • chopped chives as garnish
  • 1 portion of pasta, recipe below
For fresh pasta, you will need:
  • 2 cups all-purpose flour
  • 3 extra large (or 4 large) eggs
  •  pinch of salt
Begin by dumping flour on a clean work surface. Make a well in the flour and add eggs to the well. Using a fork, lightly beat the eggs and slowly incorporate enough flour to make a slurry. Then cut the flour to incorporate all the eggs into a shaggy dough. Knead the dough until smooth, about 5 to 10 minutes. Place dough in a large bowl and cover with damp paper towel. Allow dough to rest for 30 minutes. For more details on how to make the pasta dough, check out my previous pasta making adventure.

Pre-heat oven to 400 degrees. Clean and trim ends off beets. Wrap them in aluminum foil and place into a baking pan. Bake for 45 minutes. At that time, check the beets by inserting a pairing knife into the beets. If the knife goes through without resistance, beets are done. Otherwise return them to the oven and continue to check every 10 minutes. Unwrap cooked beets and allow them to cool until they can be handled. Peel beets and quarter them.

Add beets to a food processor. Pulse until finely chopped. Add goat cheese, ricotta cheese, lemon juice, lemon zest and salt. Pulse until mixed. Do not over process. Set aside.


Cut the pasta dough into approximately 8 equal pieces and pass each though a pasta machine. Make sure that each piece and the pasta machine are well floured. I did not get the pasta to the thinnest setting because I like my pasta with more bite to it. You should get 8 2-foot strips. Brush the surface of 1 strip gently with egg wash. Place about 1 tablespoon of beet mixture about 2-3 inches apart. You can get about 5 dollops on each strip. Gently layer another strip on top, pressing the air out of pockets one raviolo at a time. Cut out each raviolo. I used a biscuit cutter, but a knife and square ravioli will do just fine. Gently press out any air pockets. Repeat the process until you use all the pasta strips.


Bring a large pot of water to boil. Season with salt. Drop 5 ravioli at a time. In a non-stick skillet, melt 1 tablespoons of butter or butter substitute over medium heat and allow it to brown slightly. After about 5 minutes, strain out ravioli and place into skillet with browned butter. Toss quickly to coat with butter. Serve with grated parmigiano reggiano and chopped chives. Repeat until all ravioli are cooked. You should be able to make about 20 ravioli with this recipe, but you will get more if you do not discard your scrap dough.

    Friday, February 24, 2012

    On Making Tofu

    Pin It I suffer from bouts of insomnia. Actually, it's pretty often, like every other day. Most recently from some medications that I'm taking (speaking of which, I am also taking something else that could cause drowsiness, but it doesn't seem to offset the insomnia). Anyway, this is neither the time nor the place to discuss this. I only brought it up because I seem to have the best food ideas when I'm lying awake at night. And after about an hour of dreaming up these ideas and with no prospect of sleep in the near future, I get up and start making things happen. So my most productive hours tend to be between 4 am and 7 am (then I crap out at 3 pm).

    This morning's brilliant idea: making tofu. This has actually been in the making since Christmas, after I received a SoyaJoy Total Tofu Kit as a part of my Christmas loot. It's been on the back of my mind to give this a whirl, but there's always an abundance of things to try so it's been on the back burner. Besides, I can buy a block of tofu easily around here. BUT! I am going to make something special with this -- not just any ol' tofu from the corner supermarket. I can't tell you what it is yet. You just have to come back for more...


    The SoyaJoy Total Tofu Kit comes with a large bag of nigari (magnesium chloride), a tofu press box and a piece of cheese cloth. If you don't want to buy a tofu press box, you can use any sort of rectangular container with holes that allow drainage and you can apply pressure on the top (A meatloaf pan might work if there is sufficient drainage. Even something as simple as a sieve, if you don't mind a slightly irregularly shaped end product). The other two items are essential -- you cannot make tofu without nigari or a piece of cheese cloth.

    I relied greatly on Just Hungry's guide to making tofu -- it's an excellent tutorial with lots of details and good advice. I'm posting pictures documenting my long, arduous process of making tofu and hopefully offer some practical advice.

    You will need soy beans, which are dried edamame. But don't actually use edamame, because that won't work. You'll end up with edamame soup -- not a bad thing, just not the intended result. Dried soy beans are hard and yellow and look like this:


    I used about a cup and half. They were rinsed and picked over, then soaked for 8 hours at room temp. After soaking, I rubbed them gently together between my palms to hull the tough outer skin. Then the soy beans were drained.


     Soybeans were added with a bit of water to a food processor and pulsed until foamy.


    Then I added the blended soy beans with 6 cups of water to a large pot. I slowly brought it to simmer over low heat. If you try to heat it up too quickly, it would either foam and boil over or scorch the bottom of your pot.


    After the mixture simmers, the foam will slowly go away. Keep the heat low for 20 to 30 minutes. Remember to stir frequently so the bottom doesn't burn.


    The fibrous soy bean starts to separate from the milk. You can see the granules on my spatula.


    I poured soy milk mixture into a colander lined with cheese cloth. Then I squeezed the cheese cloth to get all the soy milk out.


    It's been 10+ hours and I had soy milk! It tasted bean-y and has that great soy taste that I grew up with. The supermarket soy milk nowadays tastes nothing like this. For this alone, the effort was worth it.


    Soy milk goes back into a pot (a different pot) and slowly brought to about 165 degrees Fahrenheit. Turn off heat. I dissolved 3 teaspoons of nigari that came in the kit in a cup of warm water. I poured it little by little around different parts of the pot and stirred it gently. Cover and wait 15 minutes.


    I poured the mixture directly into the mold lined with cheese cloth.


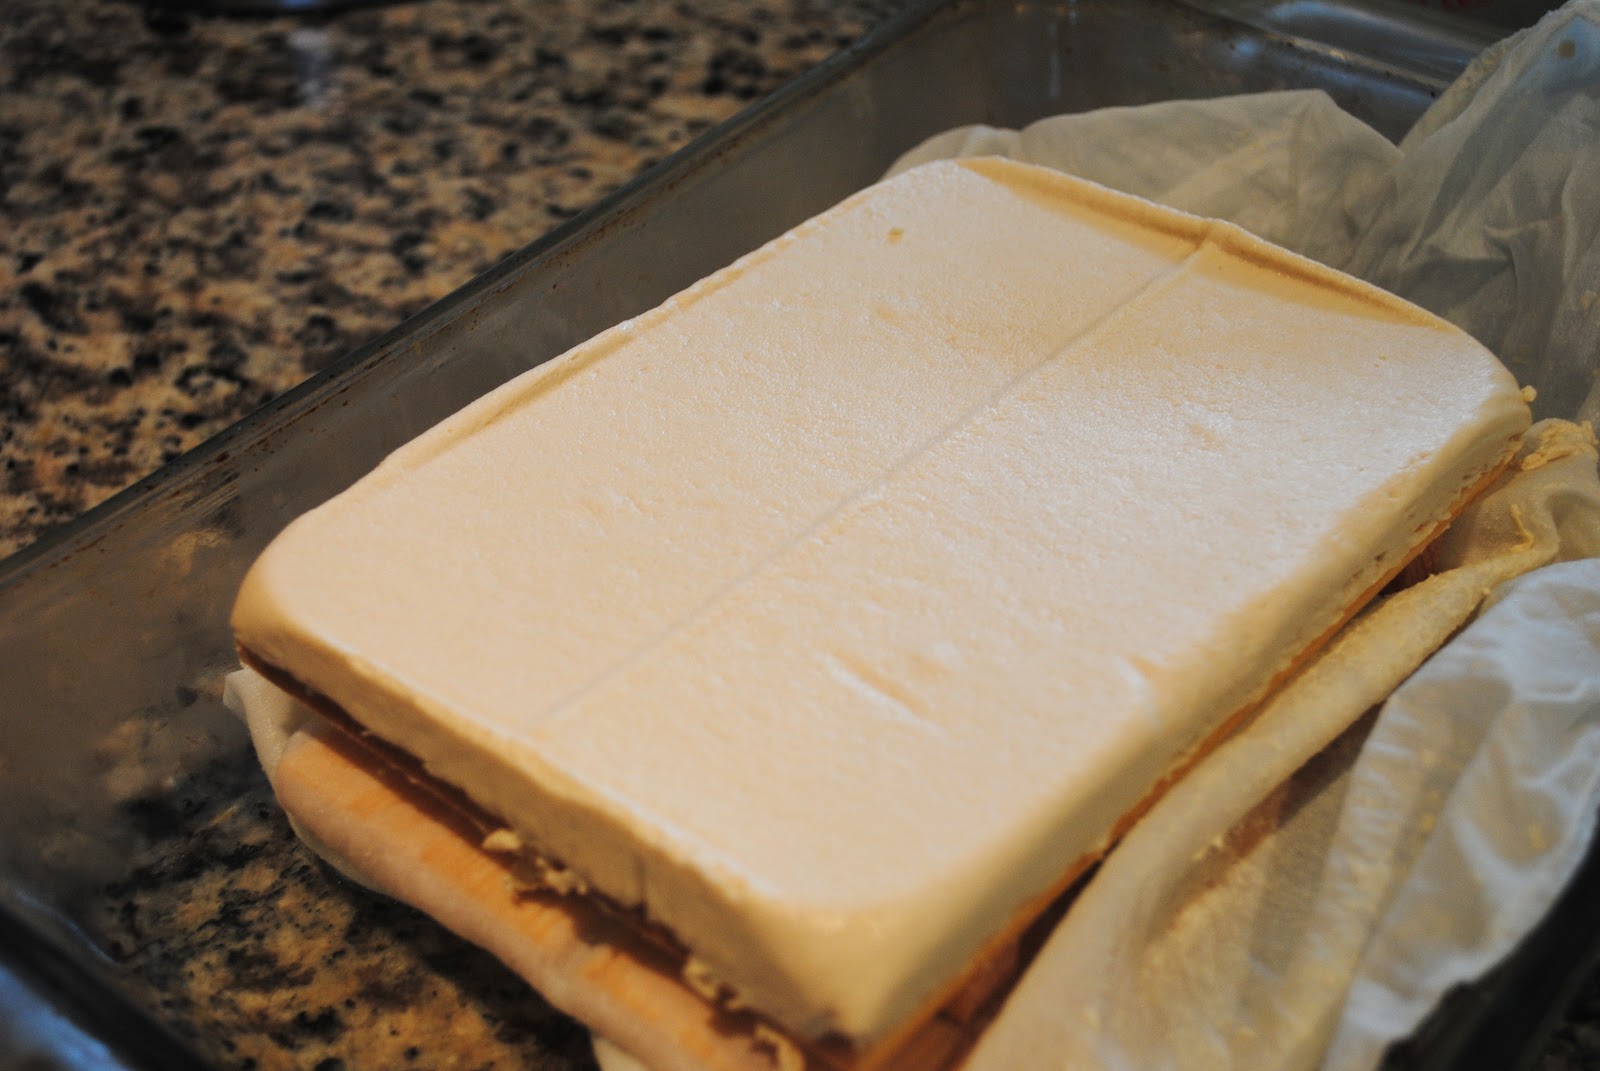
    Weighing it down with an empty measuring cup. I would later add water into the cup to increase the weight. I put the mold into a pan and stuck it in the fridge overnight.


    Twenty-four hours after I started the process, I have a tiny one-inch thick block of tofu.

    Random thoughts on my tofu making project:
    • You need a lot of soy beans to make very little tofu. Next batch will be a much bigger batch.
    • Well, if there is a next batch. The process is long and laborious and I used every pot and container in my disposal, making the clean up process equally long and laborious.
    • Every single surface of my kitchen was covered with some sort of soy bean by-product -- curd, milk and fiber. And they don't come off very easily.
    • The result is very bean-y, like the tofu that I used to have as a kid. Unlike most of the supermarket versions, this one is preservative free and very flavorful.
    • I think I need to do something about my insomnia.

    Tuesday, February 21, 2012

    Zha Jiang Mian (炸酱面)

    Pin It

    VB brings his lunch to work almost everyday. One of his co-workers was curious about my version of Dan Dan Mian, but declared that Zha Jian Mian is better. Specifically that she makes a good Zha Jian Mian. Sounds like a challenge! I love a good challenge.

    Unfortunately, I think I may have failed this one. Well, I guess if I had to grade myself, this version of Zha Jiang Mian would be given a C-. Number one reason? Zha Jian Mian should be saucy, as the name implies (it literally means "fried sauce noddles"). Mine is a bit on the dry side. It's one thing to make something like... oh say, Indian pizza. There's no right way; it just has to taste good. But it's much harder to make something that's steeped in tradition and childhood memories. This one just didn't quite measure up.

    Sadly, you can tell that it's not saucy enough.
    The problem was the vegetarian ham that I used in here. It soaked up all the sauce and became mushy. If there's anything that I hate more than a dry Zha Jian Mian, it's mushy fake meat. So I made the decision to forgo the sauce part and focus on getting a more meaty texture. I think this Zha Jian Mian would be good with a fake meat product like Harmony Valley Vegetarian Hamburger Mix, something that's pre-soaked and unflavored. Otherwise it's also okay just to leave the fake meat out entirely.

    I do think the flavors were good. But the end result wasn't good enough to post a recipe for it. Maybe one day, I can make an A+ Zha Jian Mian.